How to Stop GB WhatsApp from Saving Media: Simple & Effective Guide
GB WhatsApp is a popular modified version of WhatsApp that offers additional customization and privacy features. However, one common issue users face is that media files (photos, videos, and documents) are automatically saved to the device’s gallery. This can cause storage clutter, privacy concerns, and unwanted media accumulation.
In this guide, we’ll show you how to stop GB WhatsApp from saving media to your phone’s gallery, helping you maintain better control over your storage and privacy.
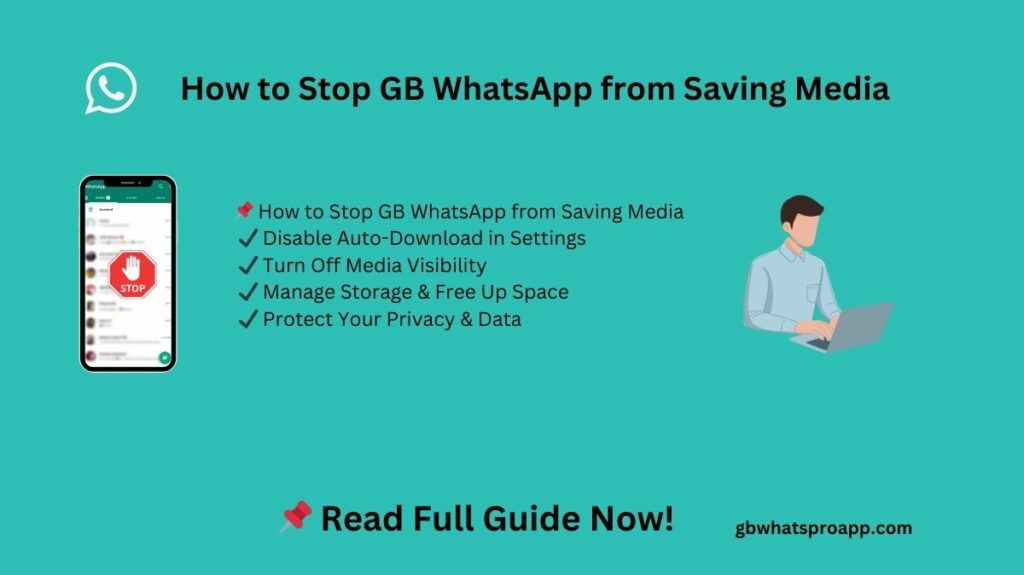
Why Does GB WhatsApp Automatically Save Media?
By default, GB WhatsApp Pro Download and saves all incoming media to your phone’s storage. This is meant to enhance user convenience, allowing quick access to images and videos. However, it also leads to:
- Unnecessary storage consumption – Your gallery fills up with unwanted photos and videos.
- Privacy concerns – Sensitive media may be automatically stored.
- Performance issues – Too much saved media can slow down your phone.
If you want to stop this, follow the steps below to disable media auto-saving in GB WhatsApp.
How to Stop GB WhatsApp from Saving Media to Gallery
Step 1: Open GB WhatsApp
- Launch the GB WhatsApp application on your Android device.
- Ensure you have the latest version for better settings compatibility.
Step 2: Access Privacy & Security Settings
- Tap the three-dot menu (⋮) in the top-right corner.
- Select Settings > Privacy & Security.
Step 3: Disable Media Auto-Saving
- Scroll down and find Media Auto-Download settings.
- Disable auto-download for photos, videos, audio, and documents by setting them to manual download.
Step 4: Turn Off Media Visibility
- In Settings > Chats, look for the Media Visibility option.
- Toggle it off to prevent downloaded media from appearing in your gallery.
How to Stop GB WhatsApp from Downloading Media Automatically
If you want to completely stop automatic media downloads, follow these extra steps:
- Go to Settings > Storage and Data.
- Under Media Auto-Download, select:
- When Using Mobile Data → Uncheck Photos, Videos, Audio, and Documents.
- When Connected to Wi-Fi → Uncheck all options.
- When Roaming → Uncheck all options.
By disabling these settings, GB WhatsApp will no longer download media unless you manually tap on it.
Additional Tips to Manage Media in GB WhatsApp
1. Use a File Manager to Delete Unwanted Media
- Open your phone’s File Manager.
- Navigate to GB WhatsApp > Media.
- Delete unnecessary files to free up storage.
2. Archive Chats to Prevent Media Clutter
- Long-press a chat and select Archive.
- Archived chat media won’t appear in your gallery.
3. Use a Private Folder for WhatsApp Media
- Move sensitive photos and videos to a secure folder.
- You can do this using apps like Google Files or Gallery Vault.
4. Regularly Clear GB WhatsApp Storage
- Go to Settings > Storage & Data > Manage Storage.
- Delete large media files and forwarded messages.
Why You Should Disable Auto-Save in GB WhatsApp
Disabling media auto-saving in GB WhatsApp helps with:
✅ Saving storage space – No more unwanted media clutter.
✅ Improving phone performance – Less storage usage means faster operation.
✅ Enhancing privacy – Prevents sensitive files from being saved automatically.
✅ Better control – You decide which media files get saved.
Conclusion
Now that you know how to stop GB WhatsApp from saving media, you can protect your privacy, free up storage, and keep your phone organized. By following the steps above, you can disable auto-downloads, prevent media from appearing in your gallery, and manually manage your files.
Frequently Asked Questions
Can I stop GB WhatsApp from saving photos for specific chats only?
Yes, go to Chat Settings > Media Visibility and disable it for specific contacts.
Will these settings affect my ability to receive media?
No, you will still receive media, but it won’t be saved automatically.
Is GB WhatsApp safe to use?
GB WhatsApp is a third-party app and not officially supported by WhatsApp. Use it at your own discretion.
Can I reverse these settings later?
Yes, you can enable auto-saving anytime by following the same steps and toggling the settings back on.


Thank you for your sharing. I am worried that I lack creative ideas. It is your article that makes me full of hope. Thank you. But, I have a question, can you help me?